.svg)


In today’s fast-paced and visually driven world, the power to captivate an audience lies in the ability to transform ideas into immersive experiences. The realm of design and architecture is no exception, where the demand for high-quality renderings of 3D models has reached unprecedented heights. The Renderworks feature set allows you to breathe life into your creations. Renderworks revolutionizes the way we perceive and communicate design concepts.
One of the biggest benefits that Renderworks brings to you is the ability to create renderings that are full of detail. This post will walk you through working with textures in Renderworks to take your renderings to the next level.
WHAT IS RENDERWORKS?
Renderworks is the rendering software integrated inside of Vectorworks and is powered Cinerender and Redshift by Maxon, one of our Nemetschek sister companies and platinum partner.
Renderworks allows you to create high-quality, photorealistic renderings of your 3D models. Renderworks includes a range of advanced features such as ray tracing, global illumination, and ambient occlusion, which allow you to create accurate lighting and shadow effects, reflections, and depth-of-field in your renderings.
Renderworks is designed to be easy to use, with a user-friendly interface and intuitive controls. It includes a library of pre-made textures, materials, and lighting setups, which can be customized and saved for future use.
Renderworks supports a range of output formats, including high-quality still images, animations, and 360-degree panoramas. These can be used for presentations, marketing materials, or client reviews.

HOW TO APPLY TEXTURES
Before you start customizing textures, the first thing to know is how to apply a texture to an object.
First, select the object to which you want to apply the texture.
Then, open the Resource Manager and locate the desired texture. You can either drag and drop it onto an object or double click to apply it to the selected object. You can also use the Texture tool in the Basic toolset to accomplish this.
HOW TO CUSTOMIZE A TEXTURE
Creating custom textures in Vectorworks can be a valuable skill for architects who want to have more control over the final look of their project. By creating custom textures, you can tailor the look of your work to your specific needs and preferences and differentiate your work from others.
For this workflow, we’re assuming you already have a texture applied to an object and now want to customize the look. Here’s how you’d do that.
Step 1: Decide if you want to edit the existing texture or create a new one
First, you need to decide if you want to keep the existing texture for future use. If so, right click on it in the Resource Manager and select Duplicate. This will give you a copy of the texture to edit.
Step 2: Accessing the Texture Edit Mode
To edit the texture of the selected object, you need to access the Texture Edit mode. This can be done by right clicking on your texture in the Resource Manager and selecting Edit. Make sure to select your duplicate copy to preserve the original texture.
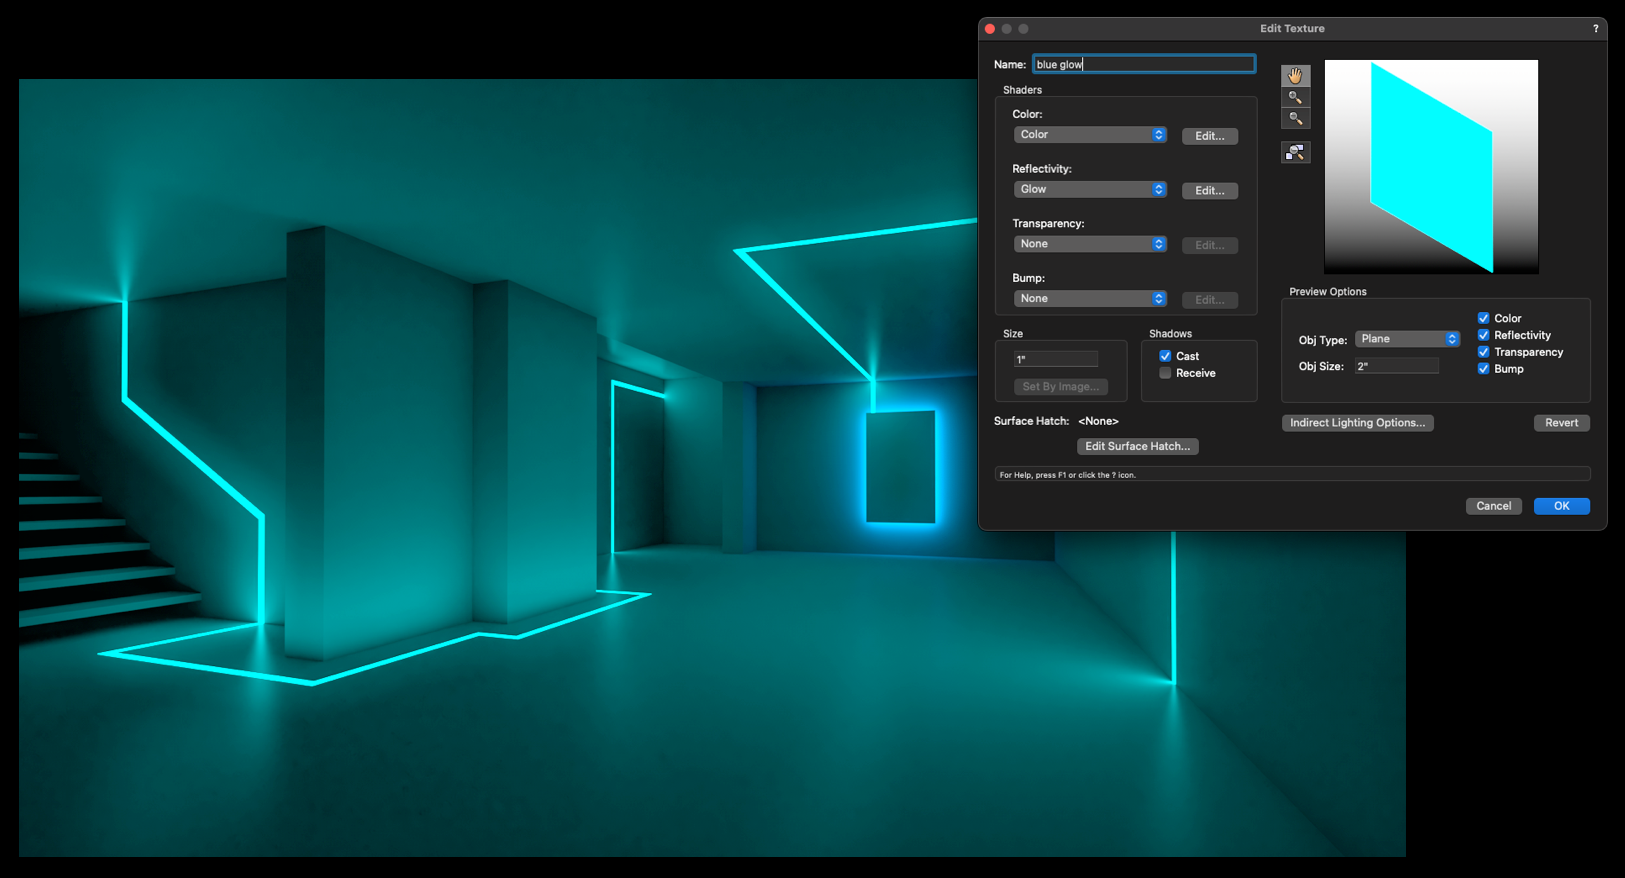
Step 3: Customizing the Texture
In the Edit Texture menu, you can customize your new texture by adjusting various shaders such as color, brightness, contrast, and transparency. You can also apply different patterns, gradients, and images to create the desired look and feel of the texture.
Step 4: Saving the Texture
You can save the new texture by giving it a name in the Edit Texture menu and clicking the OK button. You can also organize your textures into folders and subfolders in the Resource Browser for easy access.
Do more with your renderings! Check out the webinar, "Rendering for Everyday Architectural Drawing."

WHAT SETTINGS ARE INCLUDED IN EVERY RENDERWORKS TEXTURE?
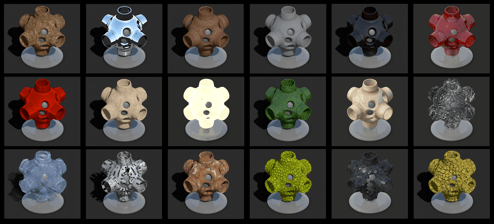
Renderworks includes a wide range of settings for each texture, which allows you to customize look and feel. Let’s go through the settings that are included for each texture inside Renderworks.
- Color Shader - This setting allows users to adjust the color of the texture, using a color picker or RGB values. This can be useful for creating different shades and hues of a texture.
- Transparency Shader - This setting controls the opacity of the texture, ranging from fully opaque to fully transparent. It’s useful for creating materials such as glass or water.
- Reflectivity Shader - This setting controls how reflective the texture is, ranging from no reflection to a mirror-like reflection. This is useful for creating materials such as metal or polished surfaces.
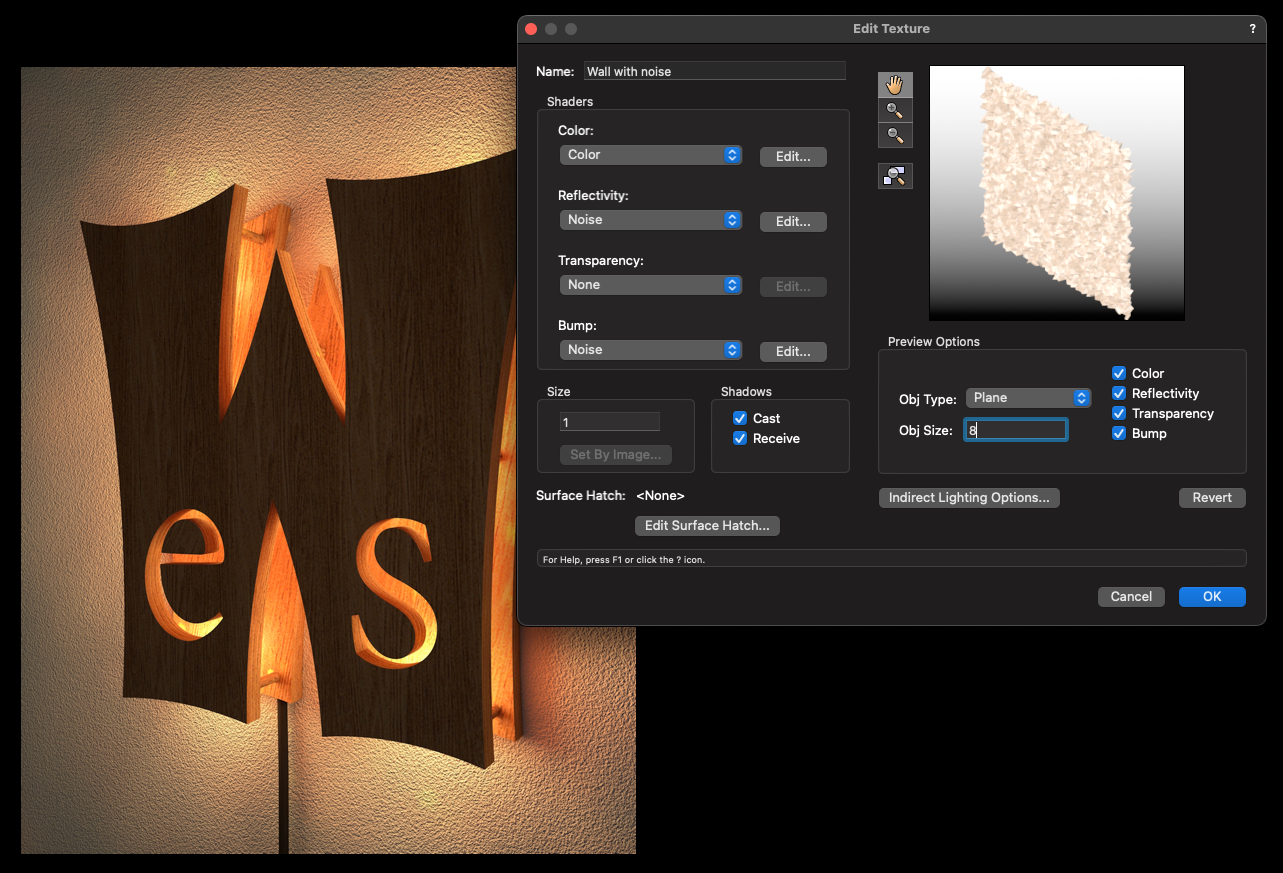
- Bump Shader - This setting controls the texture's surface roughness, which can add depth and dimension to the texture. It simulates small surface imperfections that affect how light is reflected and absorbed.
- Size - This setting allows you to adjust the size or “scale” of the texture, making it larger or smaller. This is useful for controlling the texture's overall appearance, such as the size of individual tiles in a tiled material.
Tip: You can customize your textures even further by clicking the “Edit…” button next to each shader.
In addition to these settings, Renderworks also includes options for texture mapping, lighting, and environment settings, which can all impact the final look and feel of a material. By adjusting these settings, you can create a wide range of textures for your 3D models, allowing for greater customization and control over the result.
