.svg)


Looking for some simple ways to be more efficient with Vectorworks? Then you’ll love the Clip Cube tool!
What Is Clip Cube?
The Clip Cube tool allows you to cut away at a 3D model through a see-through cube. Each face of the cube is draggable, giving you six distinct directions from which to clip the model. Clipping the model is strictly a viewing option, meaning anything you clip away will still be intact once you deactivate the tool.
What Can I Do with Clip Cube?
Model Exploration
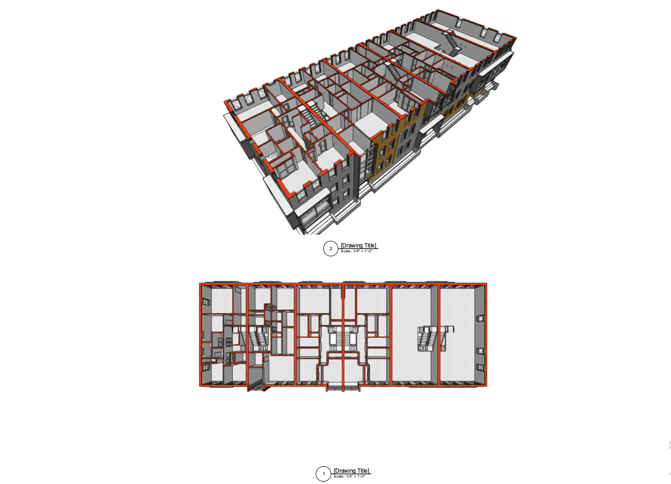
Clip Cube is simple way to explore a design; you can clip the model to focus on a particular spot, reducing clutter around the targeted area.
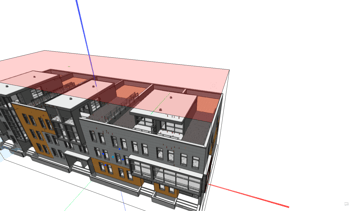
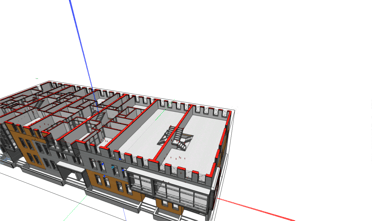
Above, the left image shows the top face of the Clip Cube selected and the right image shows the building’s top floor after clipping away the roof.
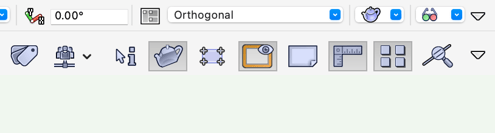
TIP: Add Clip Cube to your toolbar at the top right of your screen to access it quickly.
Only visible geometry is snappable when using the Clip Cube. This can give you greater control if you want to focus on a particular room of a large residential project like the pictured one.
The Clip Cube faces will automatically encompass the model in its entirety, or you can select a few objects before activating the tool to have the cube trim down to just those objects, granting you greater precision. Additionally, if you need to modify the positioning of the Clip Cube, you can click and drag the center of the cube or even rotate it for when your building is not following a standard 90-degree grid.
Create Saved Views
You can also use Clip Cube to quickly create focused views of your model and save them to reference later. Do so with View > Save View and select the Save View Orientation option. This is a fast way to essentially place a bookmark into the model.
Create Viewports
Clip Cube is also useful to create viewports of the model. Just clip away excess geometry, position the model how you want it to appear in the viewport, then create a viewport as normal with View -> Create Viewport. Make sure the Display with Clip Cube box is checked in the popup dialog box.
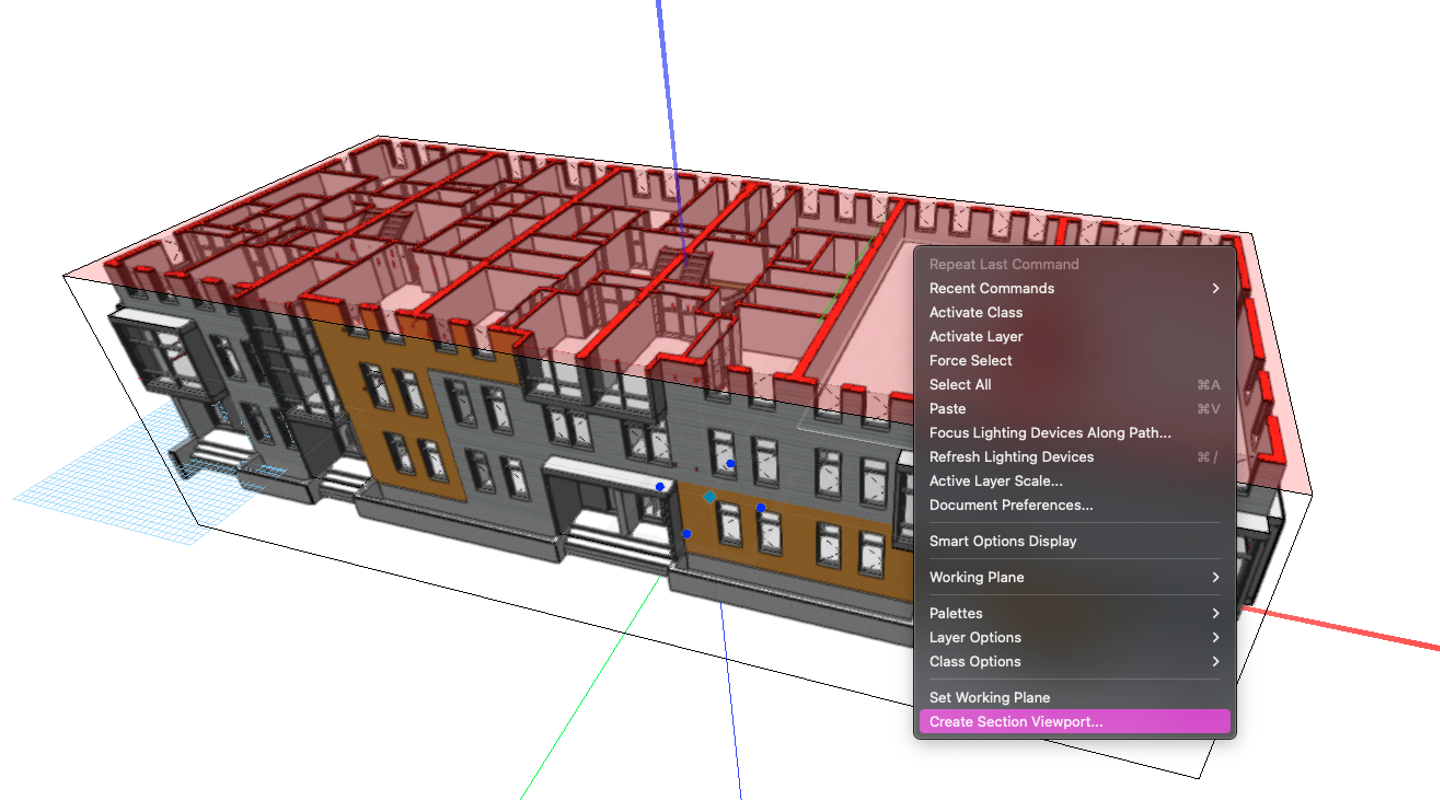
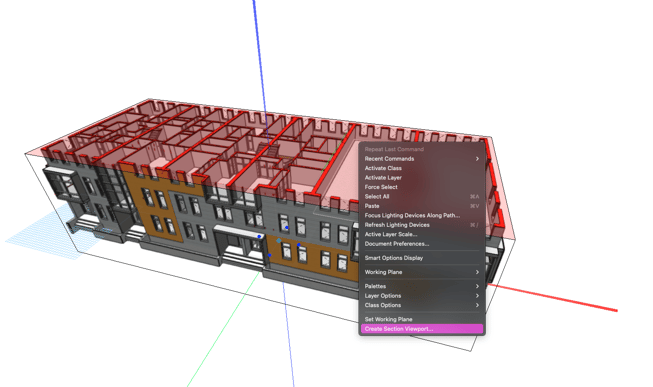
Create Section Viewports
Clip Cube can help create section viewports quickly and easily. This is arguably the most underrated use of Clip Cube. Here’s how to do it:
- Clip out geometry you don’t want showing in the section.
- Select either a vertical or horizontal cube face.
- Right click on the selected face and click the Create Section Viewport command from the pop-up menu.
- Create the viewport on a sheet layer or a design layer.
You can find more information about creating vertical section viewports here and more information about creating horizontal section viewports here.
Modify Viewport Visibilities
Clip Cube functions within viewports as well. On a sheet layer, right click a viewport and click Edit. Make sure Display with Clip Cube is checked, then click OK. You’ll then be able to quickly clip away at the viewport geometry to optimize what you want showing.
Discover Other Hidden Gems in Vectorworks
There are plenty of other underrated and underused features in Vectorworks. Read about a few of them here and discover some fresh ways to increase your efficiency:

