.svg)


What is image projection or building projection mapping?
Image projection over buildings, also known as building projection mapping, video mapping, or spatial augmented reality, is a technique used to transform the surface of buildings or architectural structures into dynamic and immersive visual displays.
This concept involves projecting digital content, such as images, videos, animations, and interactive elements, onto buildings and other surfaces.
In this post, you’ll learn more about image projection and how you can do this easily in Vectorworks Architect, Landmark, Spotlight, Fundamentals, or Design Suite. By simply adding textures to the basic Renderworks light toolset, you can achieve beautiful projections regardless of the industry for which you’re designing.
You’ll also discover some common uses for this process in interior design, an area where image projection has lots of potential.

How Image Projection Works
- Mapping the Surface: The first step involves creating a 3D model of the building’s surface. To create images that map specifically to all or part of the building, you can then choose specific viewing angles. These angles should match the intended angle of the projecting light. Then, you can use this view to create an underlay image and from that, the final “mapping” image to be projected can be overlaid.
- Content Creation: Once the surface is mapped, you can design and create digital content that's specifically tailored to fit and interact with the building's architectural elements. This content can range from artistic visuals and animations to storytelling narratives and brand promotions.
- Projection: High-powered projectors are used to project the digital content onto the building's surfaces. These projectors are often strategically placed at specific angles and distances to cover the entire surface with the projected imagery.
- Playback and Control: The content playback and synchronization are controlled by specialized software that ensures seamless transitions and timing between different parts of the projected content.
Common Uses for Image Projection
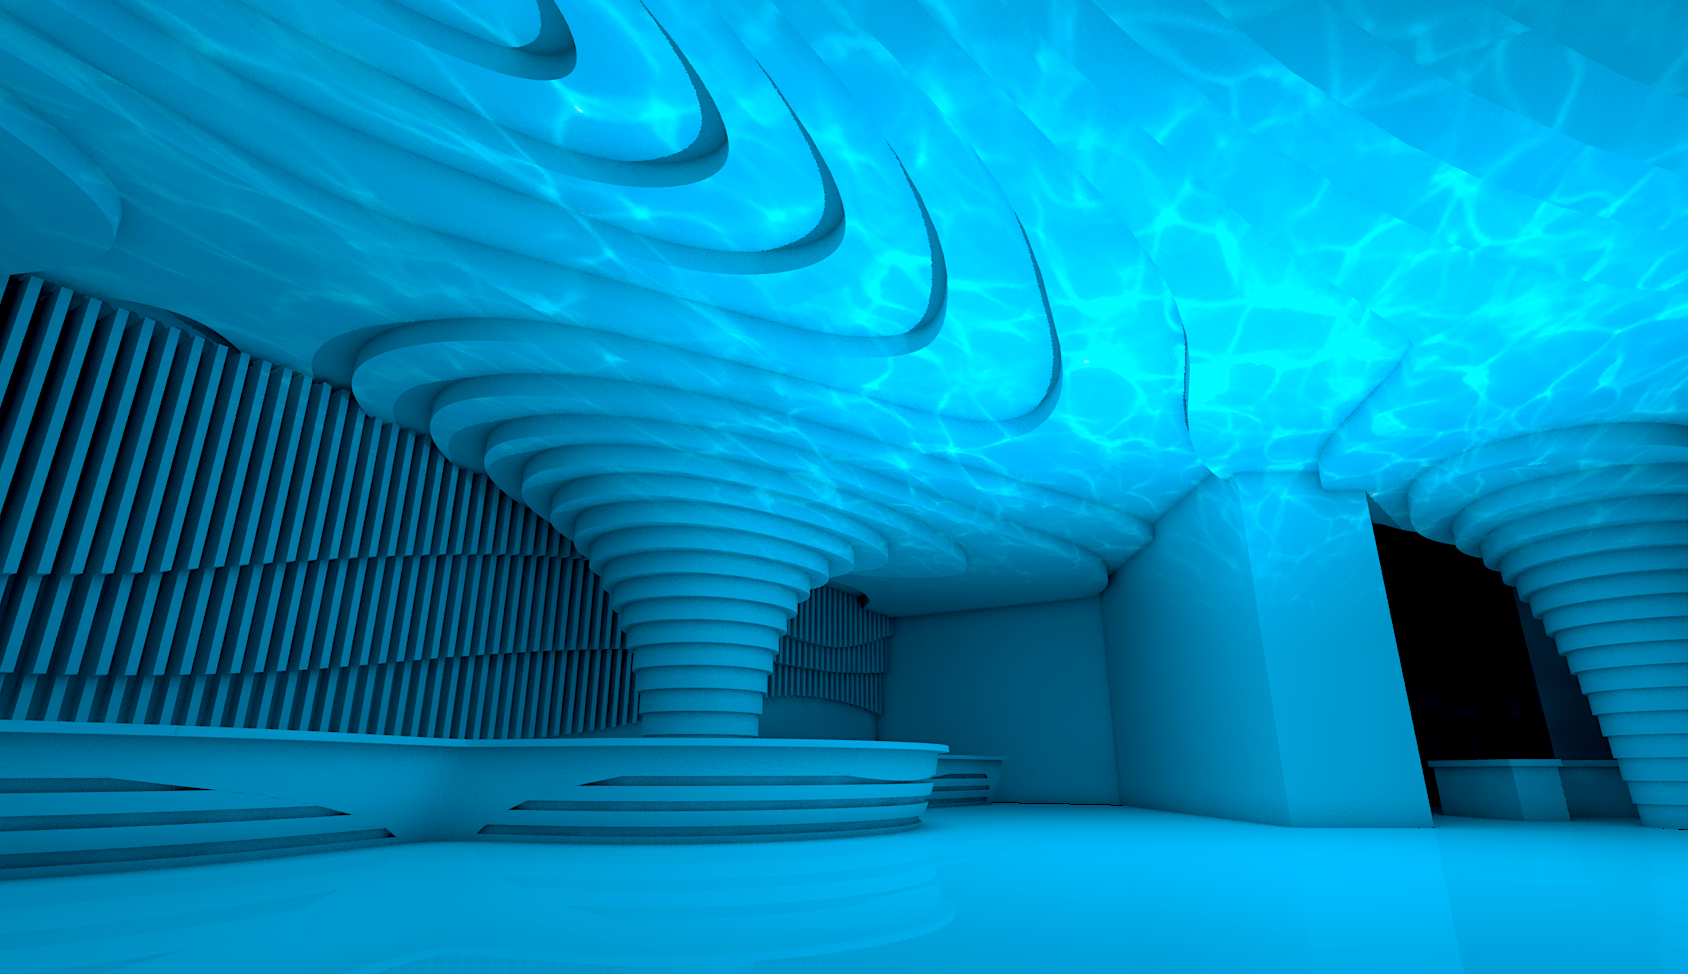
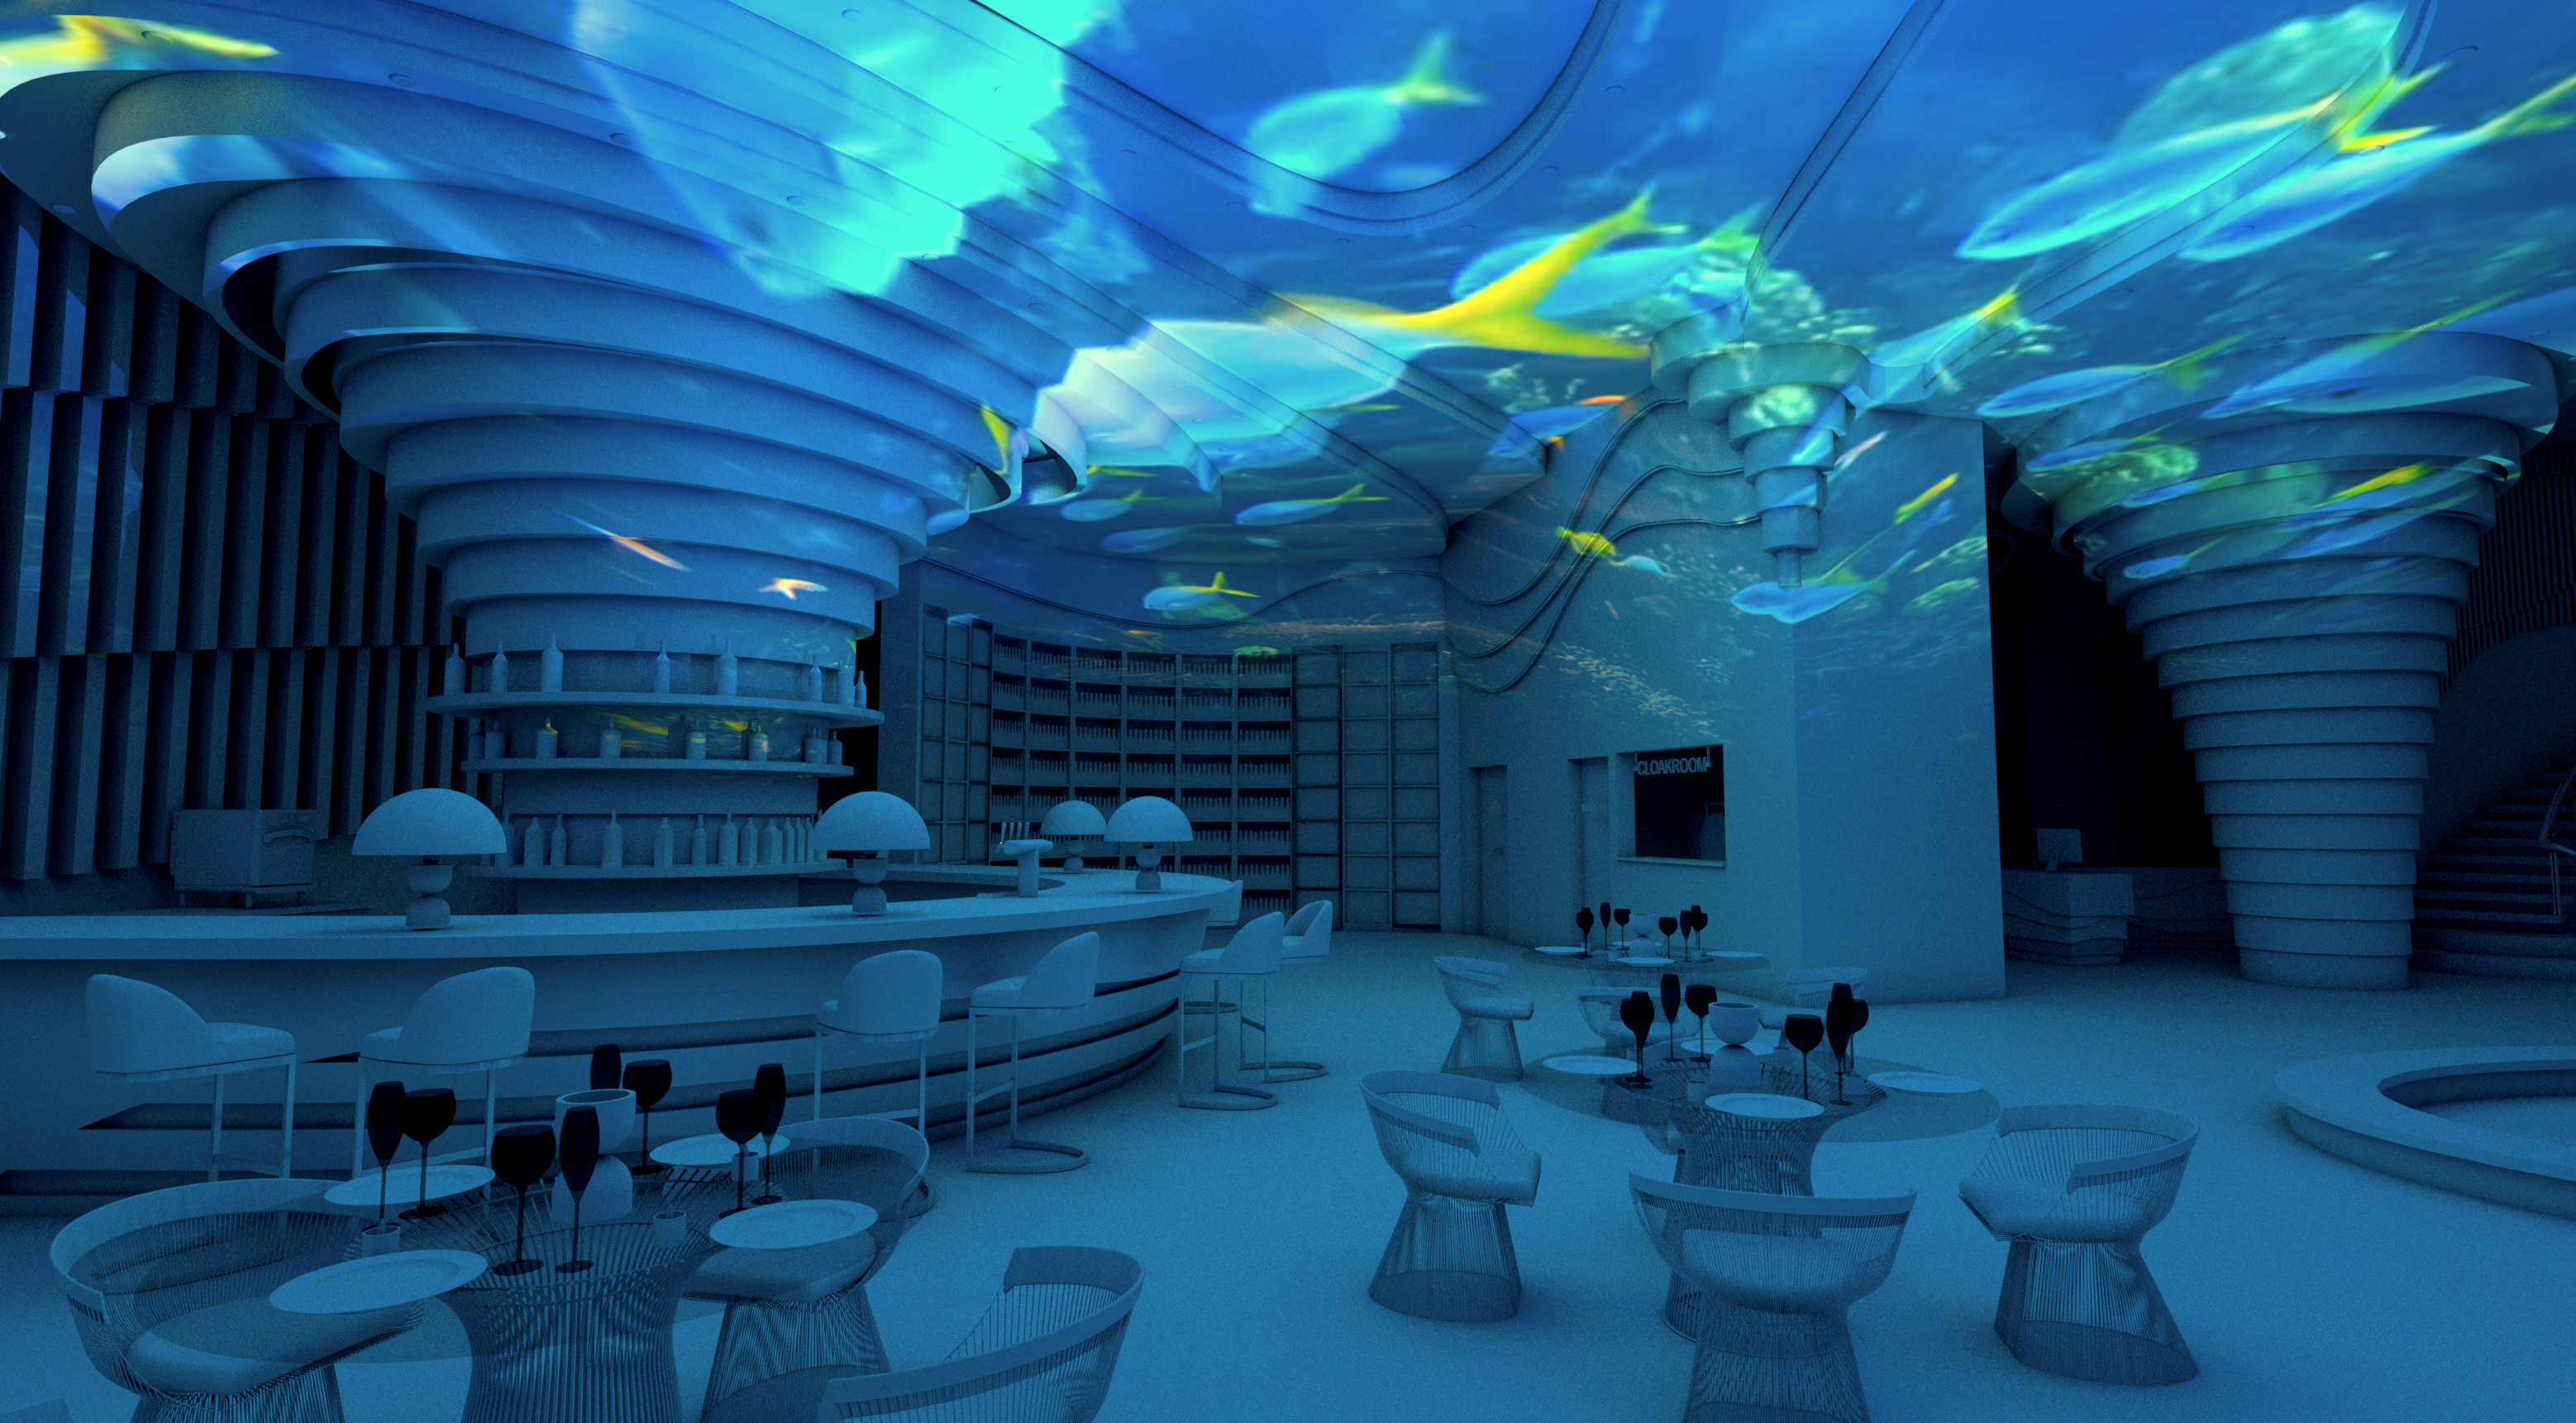
- Art Installations: Projection mapping can turn buildings into dynamic canvases for artistic expression, displaying animations, colors, and patterns that transform a room’s appearance. The traveling Van Gogh exhibit is a good example of this.
- Events and Performances: Image projection can be used at special events, concerts, product launches, and other gatherings to create captivating visual displays that enhance the overall experience.
- Advertising and Branding: Brands can use projection mapping to create attention-grabbing advertisements or promotional campaigns. If you’re designing for a trade show or exhibit hall, for example, perhaps your client would enjoy their logo or offer projected onto the walls of their booth.
- Storytelling: Projection mapping can tell immersive visual stories, making use of a building's interior to enhance the narrative.

Steps for Creating a Rendering with Image Projection in Vectorworks
Creating a rendering using image projections involves a few essential steps to achieve a captivating result. For the remainder of this post, we’ll assume you have a 3D model created onto which you’d like to project an image.
Here's a breakdown of the process:
- Identify the Target Surface: The first step is to identify the ideal surface for the projection. It could be a building facade, a stage backdrop, or any other flat or textured surface.
- Insert a Spot Light Object: A spot light object projects light in a specific direction. Angle the light towards the surface onto which you’d like to project your image. A spot light object can be found in the Lighting toolset in Architect, Landmark, Spotlight, Fundamentals, and Design Suite.
- Prepare Your Image: Click the bottom left button in your Resource Manager to create a new resource. In the resulting dropdown menu, select Renderworks Texture. Now, in Shaders, set Color to Image and select an image saved on your computer. To allow light to better show from behind the projection, select Plain from the Transparency Shader dropdown.
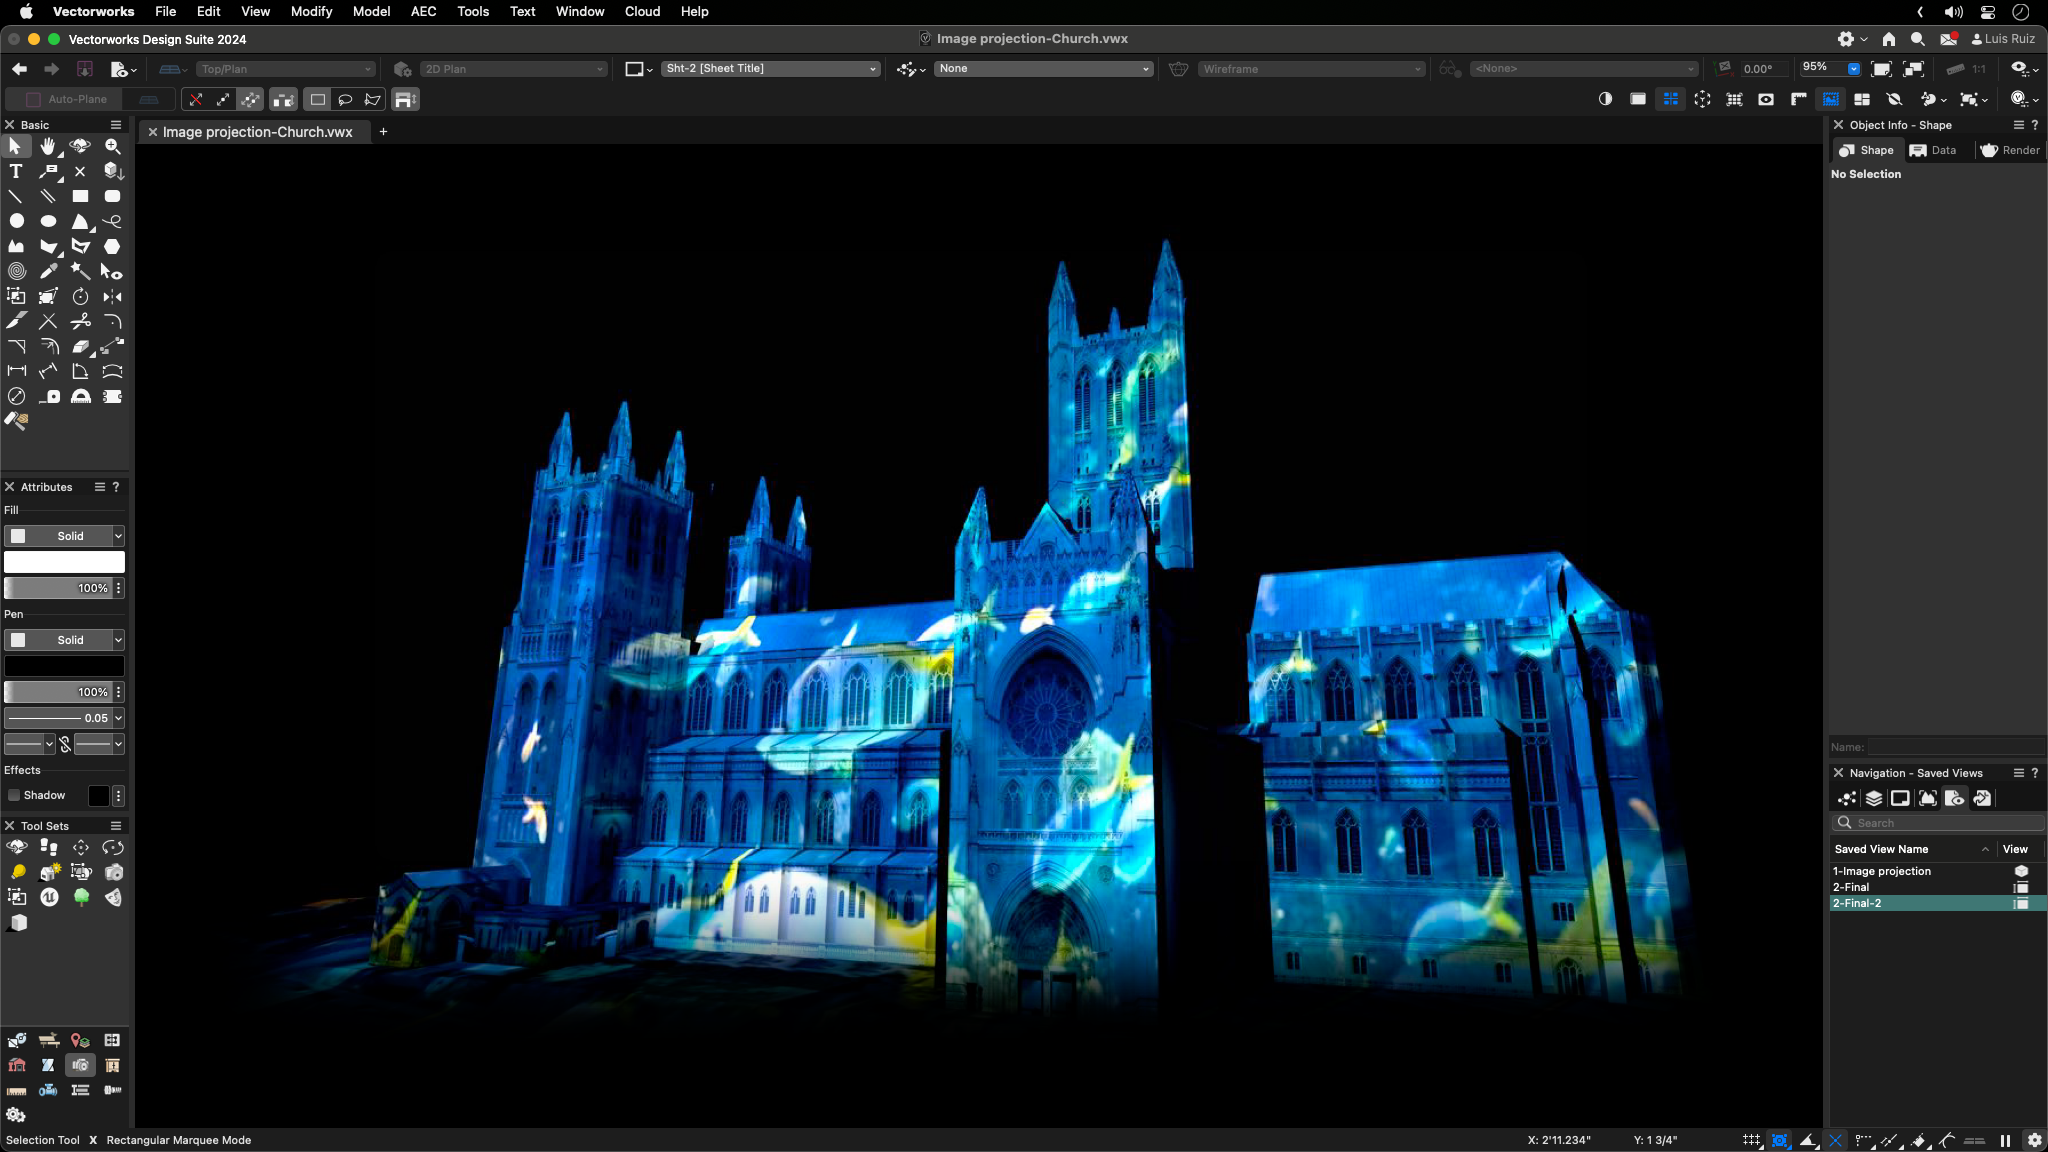
- Apply Your Image to the Spot Light Object: You can do this by selecting the light object, then clicking into the Render tab in the Object Info palette. From there, you can select the image you created in the previous step. Now, switch to a Shaded view to see your image projected onto the surface. You may have to adjust the light’s brightness for better visibility, which you can do in the OIP with the light object selected.
See Image Projection in Action
For a demonstration on using image projection in Vectorworks, check out our webinar, “Iterative Design for Interior Architecture.” Luis Ruiz, senior Architect product specialist at Vectorworks, will show you exactly how it’s done, and you’ll discover several other helpful techniques, such as working with embedded, custom, and imported geometry.

