.svg)


When laying out scenic designs, you need the right tools to precisely create your ideas. Otherwise, you may not be able to properly articulate your vision to directors, builders, or other collaborators and consultants on set.
With a hybrid environment and purpose-built drawing tools, Vectorworks Spotlight already has everything you need to get designs out of your head and onto the stage. Continue reading to learn more.
Getting Designs Out of Your Head
After inspiration strikes, you’ll need quick, effective tools to get your design out of your head and into your design software. Otherwise, the flash of inspiration may fade away, or your design on your computer won’t match the one in your imagination.
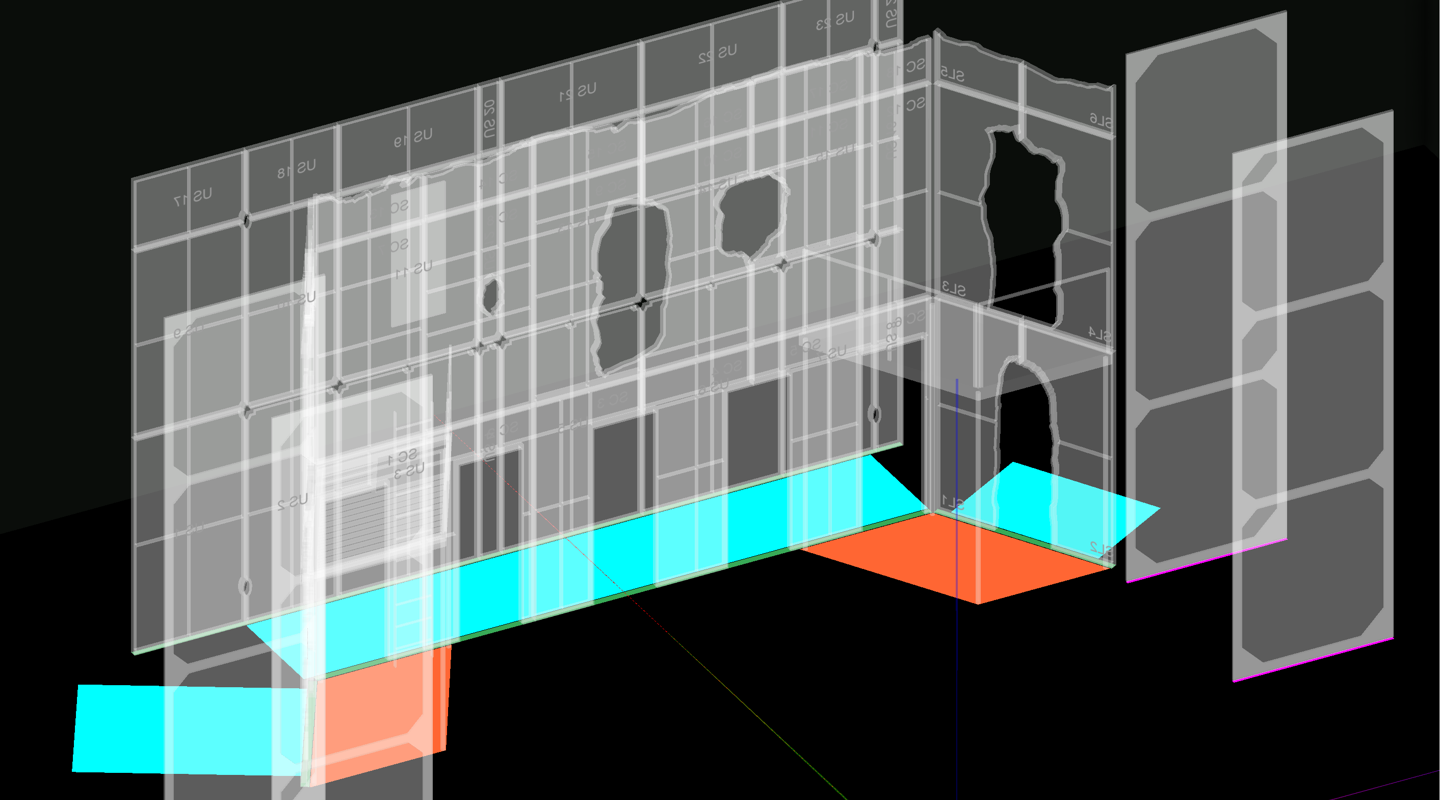
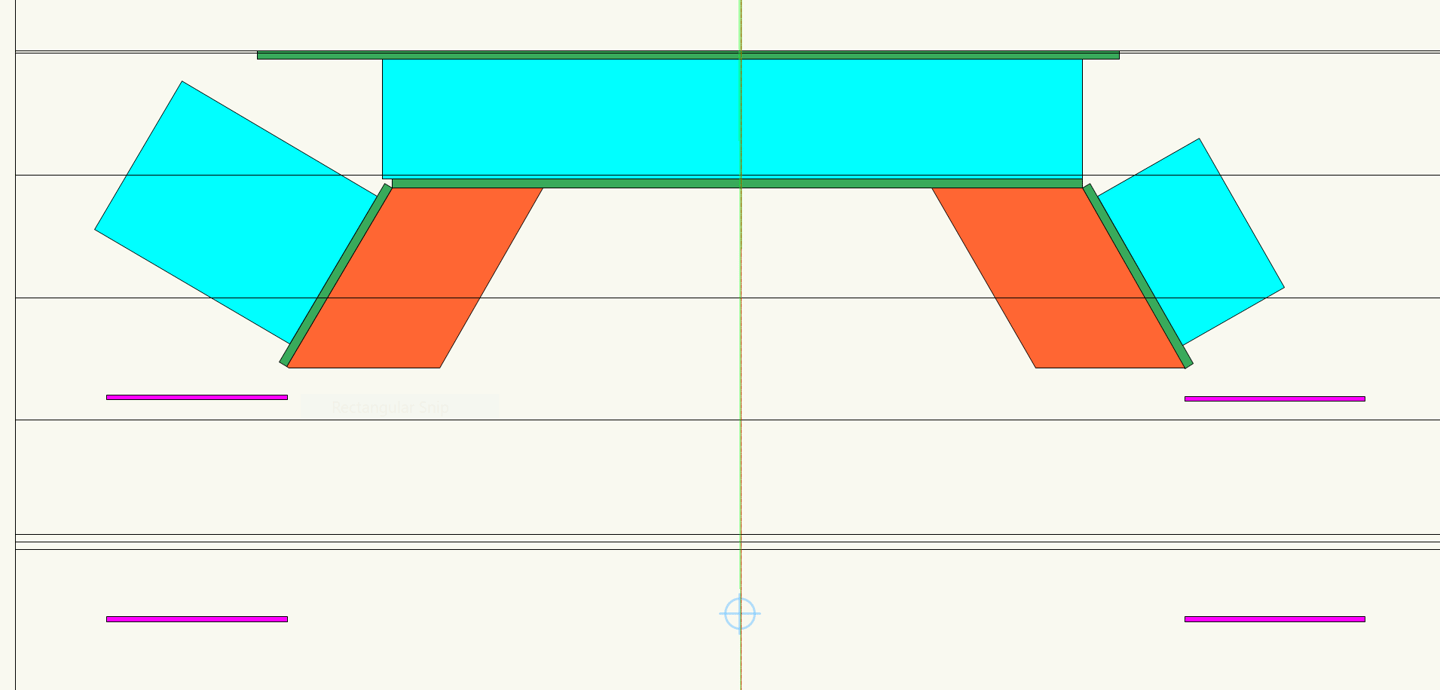
Sketching in 2D is often a great way to start a design. You can run through ideas quickly with little effort. Your 2D objects can also be easily converted into 3D when you’re ready to push a project along.
With Spotlight, you’re able to model what you design, as opposed to having to limit your design to what you can model.
Some of the commands related to solid modeling in Vectorworks are:
NURBS modeling and subdivision modeling will take more time to master, but they’ll help you create more organic and complex objects for your scenic designs.
Click here to learn more about 3D modeling and object creation in Vectorworks.
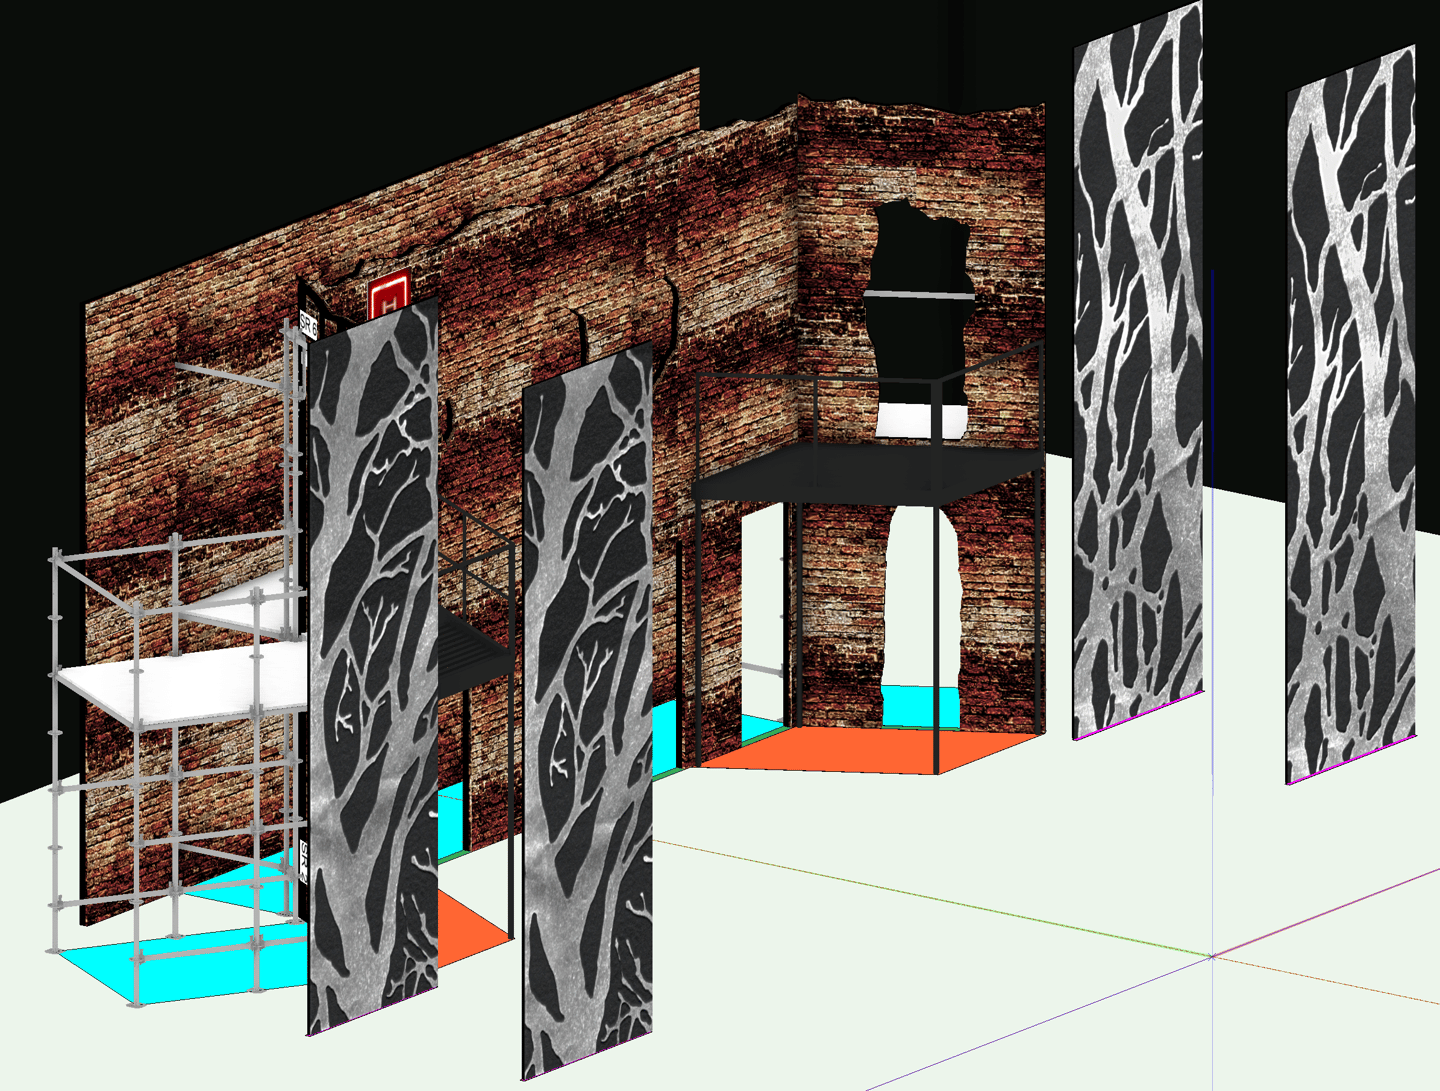
The best part about the drawing and modeling environment is that it’s hybrid, which means you can seamlessly transition between 2D and 3D views of your project. This allows you to effortlessly extract 2D drawings from your 3D models, saving you from duplicating work to produce essential deliverables.
RELATED | Model, Render, & Report in Spotlight
Taking Your Scenic Designs Even Further
Once you have a general understanding of your set pieces within Spotlight, you can begin pushing them even further with parametric tools and architectural objects.
You can automatically create walls, ramps, and more from objects or spaces that already exist in your drawing. Or you can use any of the various tools to create objects:
- Wall tool
- Column tool
- Ramp tool
- Window tool
- Stair tool
Once you’ve inserted these objects and you’ve adjusted the parameters to suit your design style and drawing needs, you can save them to reuse throughout your design or on future projects.
Some of these parametric objects, like doors and windows, are incredibly easy to edit in 2D and 3D. This flexibility allows you to adjust these objects as your project grows or evolves.
To learn more about direct modeling to doors and windows, check out the video below:
There are additional architectural tools in Vectorworks Spotlight that you can use to perfectly tell a story or put on a show.
If your entire set, or individual set pieces require a roof, for example, you can create a roof out of existing walls or 2D shapes using the Create Roof command.
Or if you want to create 2D views of your 3D set to send to the stage crew or other collaborators, use the Clip Cube command to create the view; then, you can place the view on a sheet layer without affecting the 3D appearance of the model in your design layers.
From Vectorworks to the Stage
After going from idea to Vectorworks, you might be wondering how to go from Vectorworks to the stage. Below you’ll read about helpful tools to do just that.
Collaborating with Spotlight
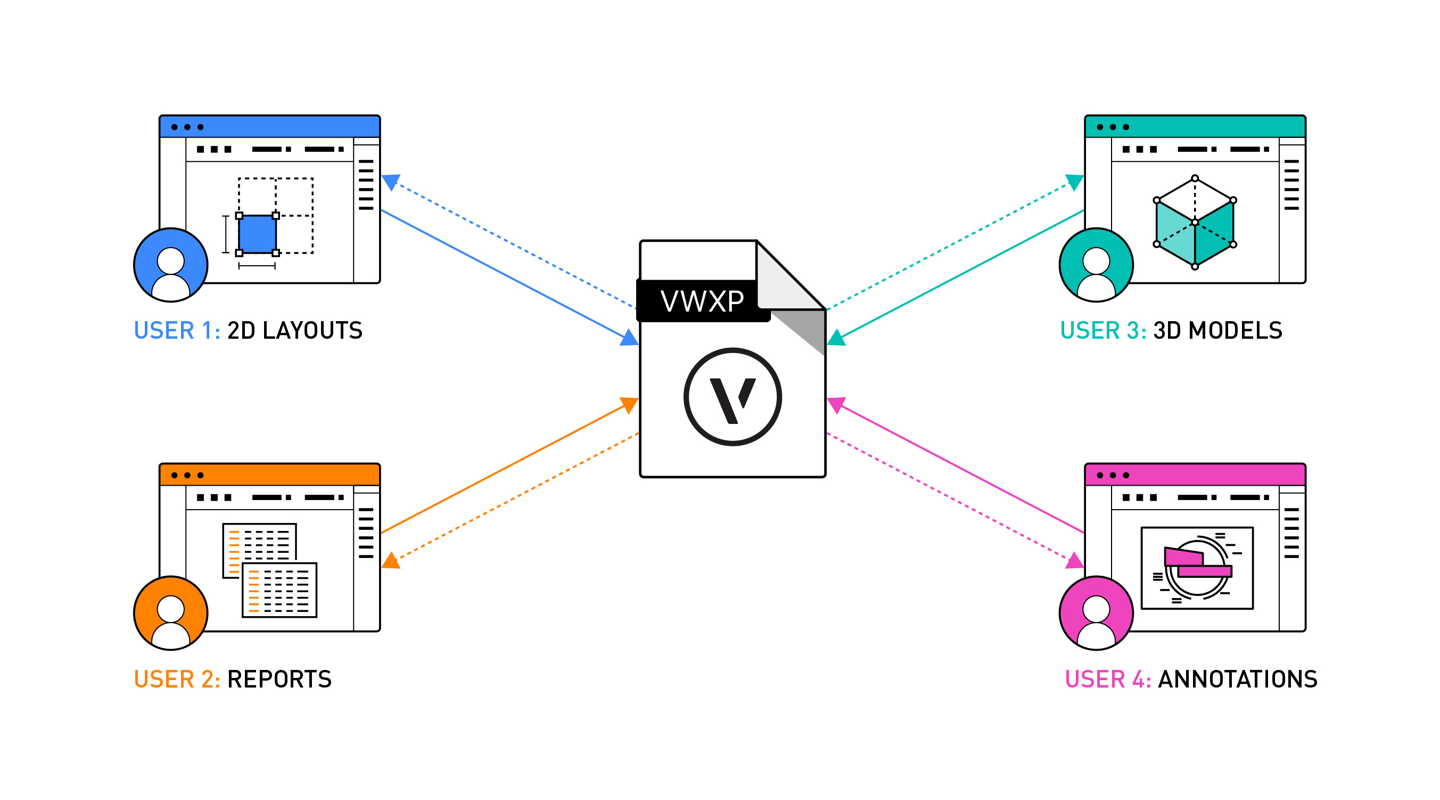
The point will come in your project where you’ll need to share your work with others, whether it be in a co-design capacity or to give a director an idea of what’s going on with your set. One way to do this is with Project Sharing, which saves you and your collaborators from managing multiple files that you always need to coordinate and ensure are up-to-date.
Instead, any project can be shared with any other collaborators who are using the same version of Vectorworks. This is especially helpful when working on large projects or events.
With Project Sharing, a central project file shares content, based on permissions, to each team member via working files. The central project file and all working files are synchronized on a regular basis — keeping the whole team up-to-date.
RELATED | Collaboration & Project Management in Vectorworks Spotlight
Presenting Designs
There are several options available for presenting your work — helping others experience the worlds you’re building.
Vectorworks Cloud Services, for starters, lets you render and present all of your projects from the cloud. You can provide your colleagues with immersive and engaging AR views for your 3D models. You can also share VR viewing options via the Cloud for panoramic images.
For a free webinar exploring the other possibilities of Vectorworks Cloud Services, click here.
You can also use saved views to present your scenic designs.
A saved view is like a camera that is set up to show your drawing from a certain orientation, with a specific set of viewing parameters, including which class and design layers are active, the visibilities of classes and the design layers, the current zoom and pan, render mode, data visualizations, and the page location.
Saved views can be created, edited, duplicated, and deleted from the Organization dialog box and the Navigation palette.
Capabilities to Help with Production and Construction
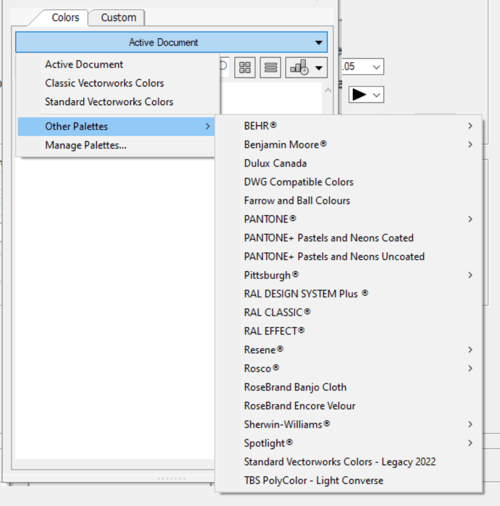
Spotlight has features that will offer important context for the builders creating your set and scenic elements. Shaded renderings and Renderworks styles, for example, can help communicate your plans about materials, colors, and lighting. You can even use colors from name brand manufacturers in Vectorworks.
Associating data to your set pieces will help inform builders on materiality, dimensions, and other useful information.
To associate custom data with objects, use Record Formats. These can be created from database tables. The imported tables are automatically linked to the new record formats.
To create record formats from a table in a connected database:
- Go to Tools > Database, and select the command Manage Databases
- Select the database on the left, and then click Import Table
- Select the columns from the database that will become record fields in the new record format by placing a check mark in the left column. For each selected column, specify the record field name, type, and connection type
Need help creating custom records? Click here!
Exporting to DXF/DWG and PDF
Once your designs are finished and you’re ready to ship them off to necessary consultants, you can export the file within Vectorworks.

Your drawing files can be exported in a variety of different formats, for example, DXF/DWG and PDF.
To learn how to export your current sheet layer or design layer(s) to a DXF/DWG file, click here. And, to export your current sheet layer or design layer(s) to a PDF file:
- Set the view for the export. The current sheet layer or currently viewed design layer(s) will be exported
- Set the visibility of layers and classes. All visible and grayed layers will be exported; invisible layers and classes will not be. For viewports on sheet layers, set the layer and class visibility of each viewport
- Select the Export PDF command
If you’re looking for a low-risk way to explore Spotlight’s capabilities that we’ve discussed in this blog post, click the button below to download a free sample project:

